通過travis-ci或者GitHub Actions自動化部署GitHub Pages和Coding Pages
對於靜態博客來説,Hexo是一款很受歡迎的博客生成器。其擁有數百的主題和插件,方便我們部署和自定義博客內容。然而,很多生成器都有一個跟明顯的缺點,當網站的文章越來越多時,生成所需要的時間也越來越久。如果電腦效能差的話,部署時間則會更加的久。
為了解決這個問題,採用自動化部署是一個絕佳的選擇。現如今提供自動化部署的平台越來越多。像Travis CI,還有最近發佈的Github Actions。我們只需要把Hexo的目錄推送到GitHub去,相關平台監測到對應的Repositories發佈變化,就會自動去執行編譯,並把編譯好的內容發佈到博客Repositories去。
Travis CI
Travis CI有提供免費版和企業版,以下的教程是在免費版上操作。
免費版不支持私人倉庫(Private Repositories)部署
註冊
點擊Sign Up會自動跳到Github上去授權登錄。只需授權登錄就行,完成後會進入操作界面。

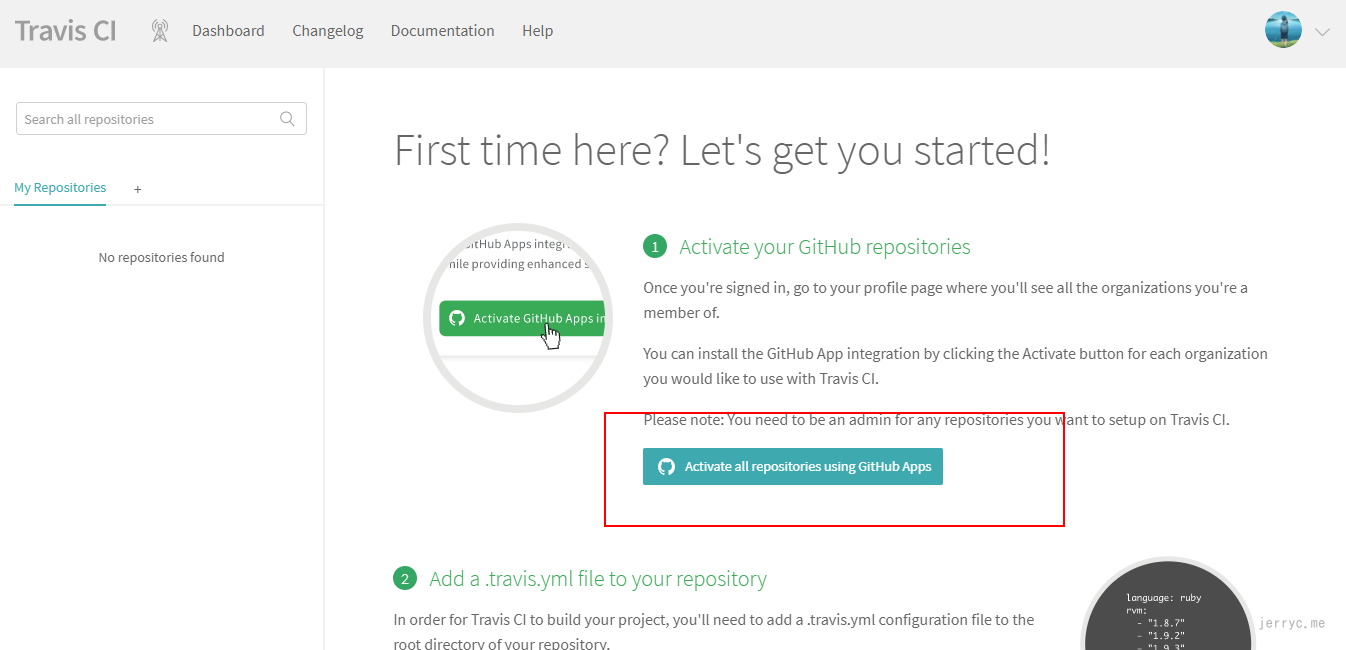
設置倉庫Repositories
接下來要選擇哪一個倉庫Repositories需要被監測。
點擊Activate all repositories using GitHub Apps
然後點擊Only select repositories,選擇你想要的倉庫(hexo目錄的倉庫),點擊Approve & Install
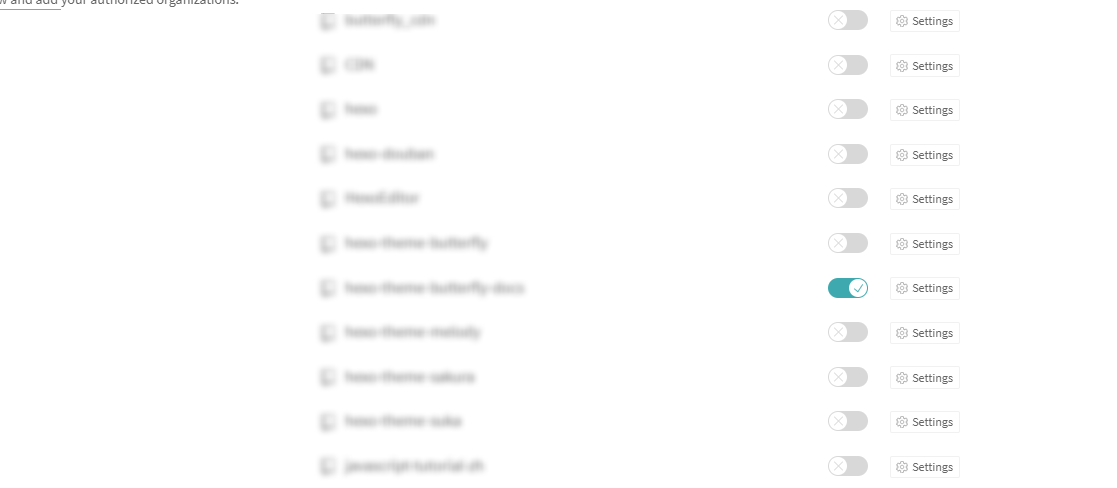
選擇你想要的倉庫,點擊settings
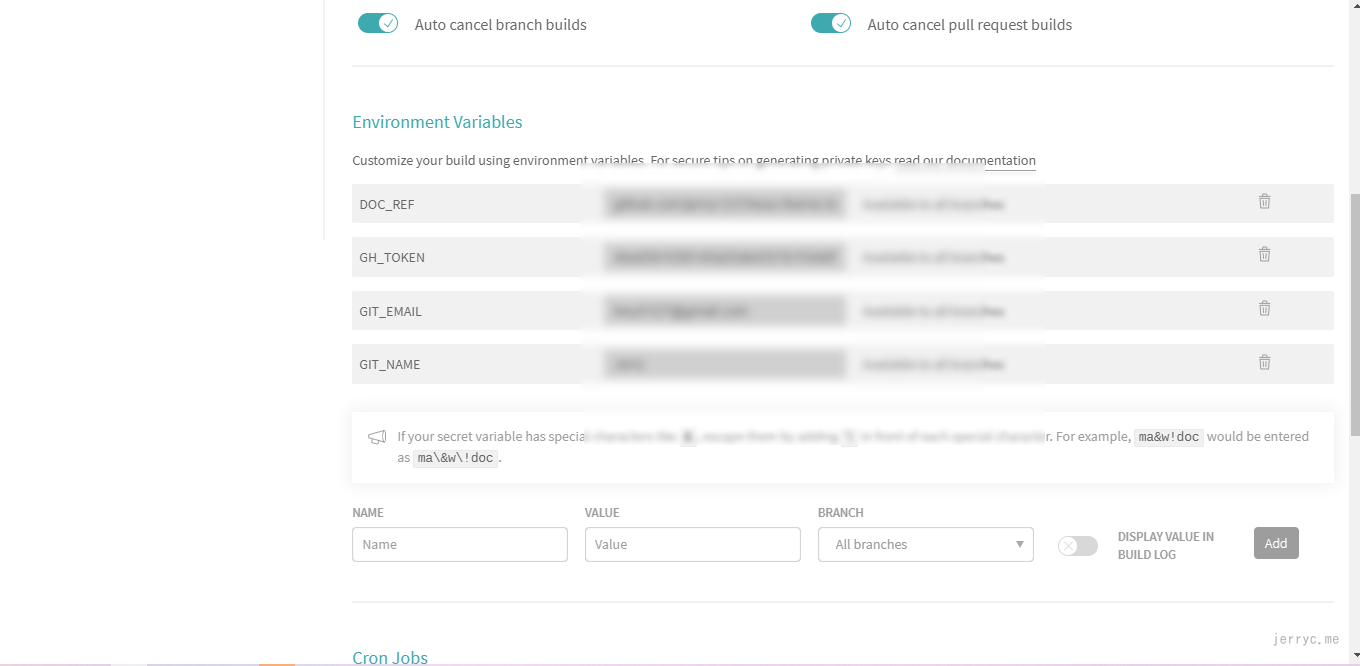
在settings界面,找到Environment Variables。為了保護我們的隱私,一些重要的資料寫在這裏,然後通過${xxx}進行引用。
創建travis 配置文件
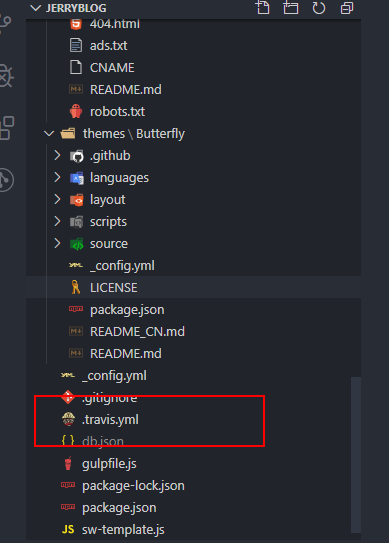
在hexo根目錄創建一個travis 配置檔案。名稱一定要是.travis.yml
把以下內容複製到裏面去
1 | language: node_js |
cache是緩存node_modules文件夾,這樣就可以不用每次部署都要去下載各種依賴,只有存在變更時,才去下載。branches是指需要監測的branch,看你的hexo目錄放在哪裏,需要自己去修改GIT_NAME,GIT_EMAIL,GH_TOKEN這些是引入你在Environment Variables所配置的內容。
1 | - git push --force --quiet "https://${GH_TOKEN}@${GH_REF}" master:master |
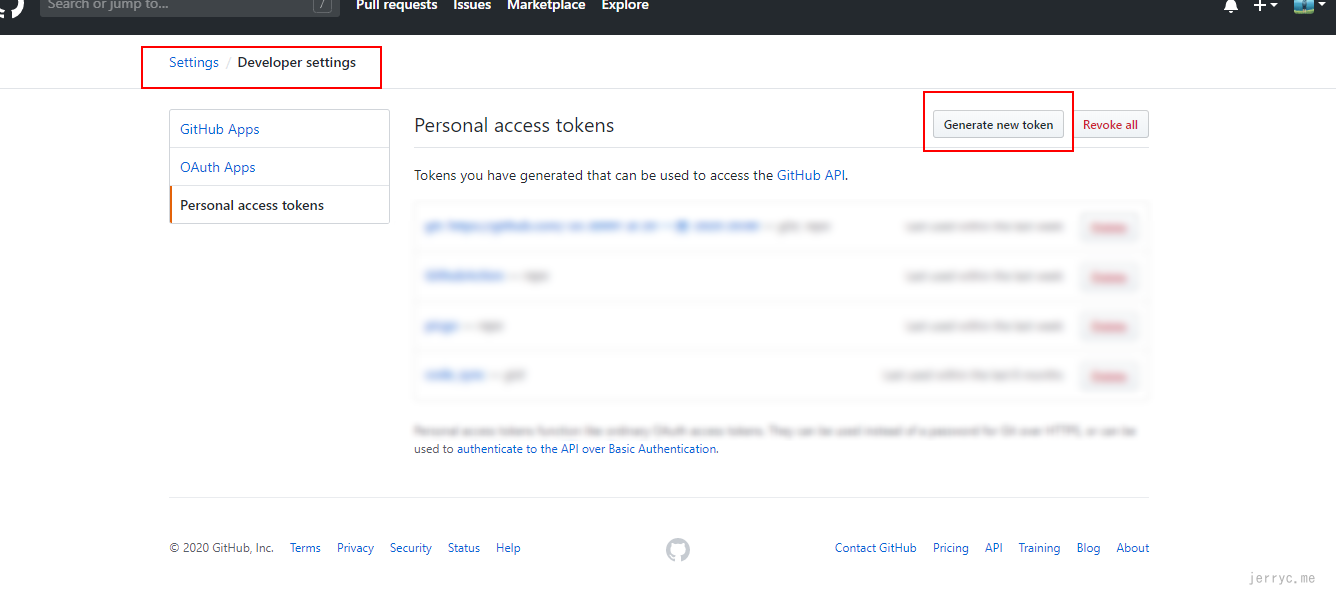
第一個是推送到GitHub去,例如jerryc127.github.io倉庫。GH_TOKEN需要自己去GitHub setting裏申請GH_REF是指倉庫的git地址,例如:github.com/jerryc127/jerryc127.github.io.git
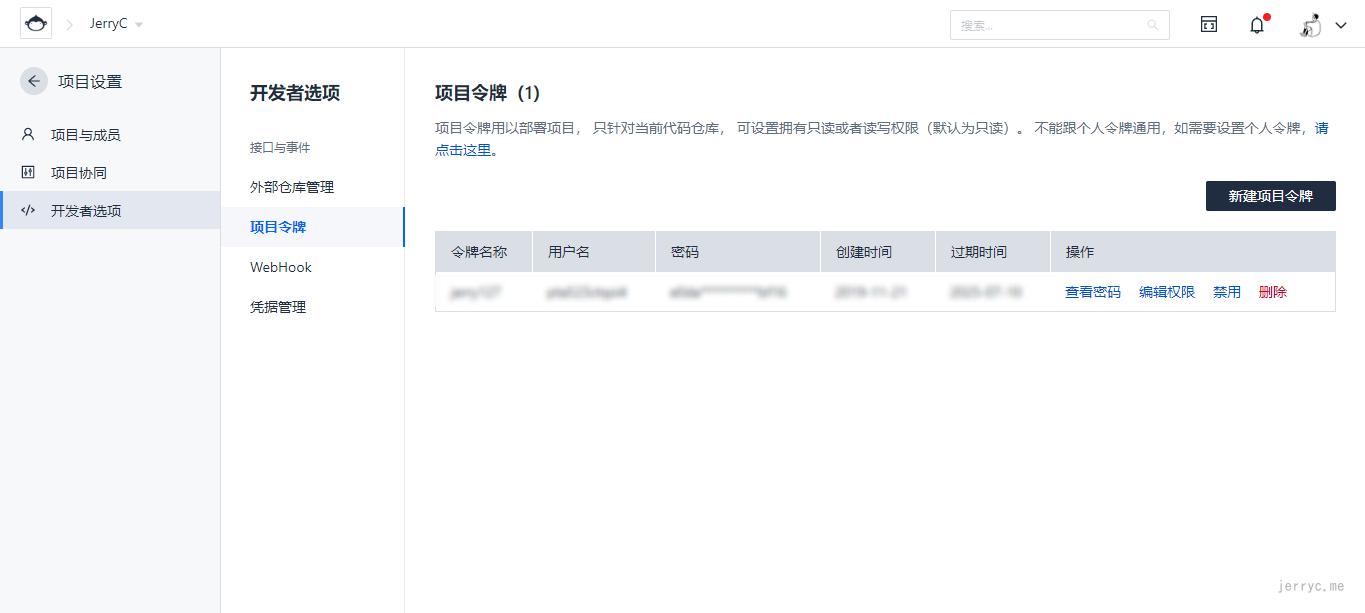
第二個是推送到Coding.me倉庫去。
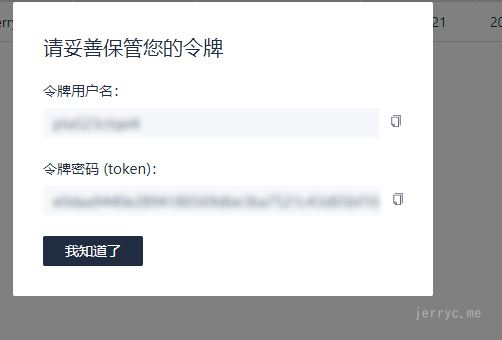
CDT_TOKEN需要到倉庫的項目設置,然後在開發者選項的項目令牌申請。
CDT_TOKEN的內容為用户名:密碼
如果是推送到gh-pages,需要把master:master更改為master:gh-pages
運行
現在你只要把Hexo的目錄推送到GitHub去,Travis會自動監測到變化,然後進行編譯。(編譯完成後會收到郵件通知是否編譯成功)
GitHub Actions
GitHub Actions是GitHub於2019年底推出的自動化流程工具,它的功能很強大。而我們只需要用到它的構建。由於是GitHub自家的工具,我們無需再額外的註冊賬號,GitHub Actions也集成在了GitHub界面上,我們只需點擊Actions進行創建。
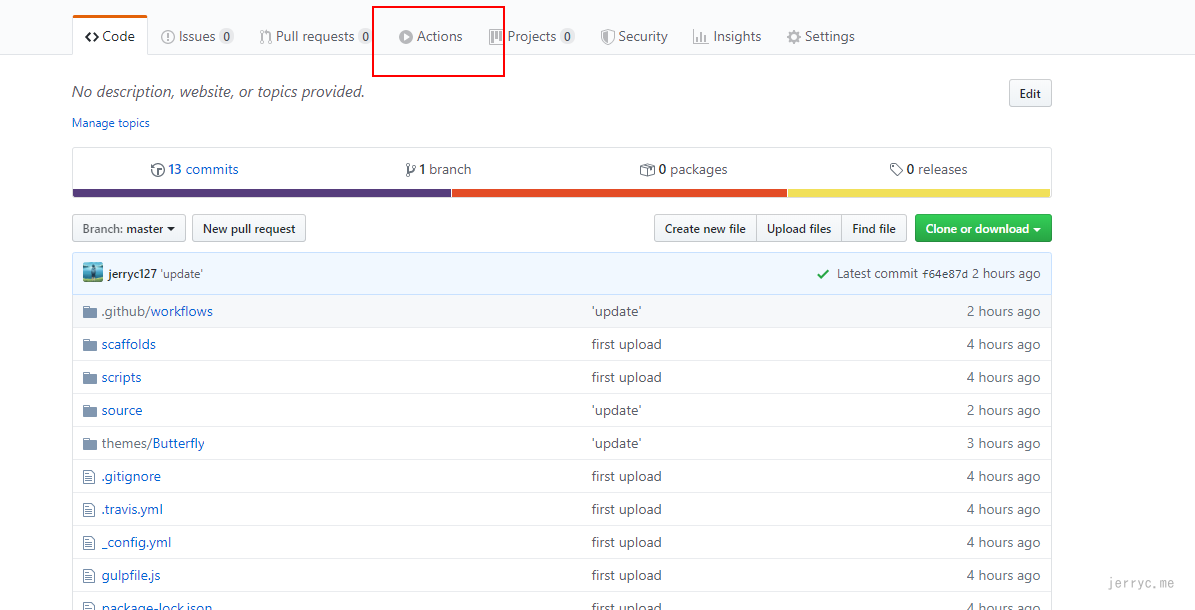
創建Actions
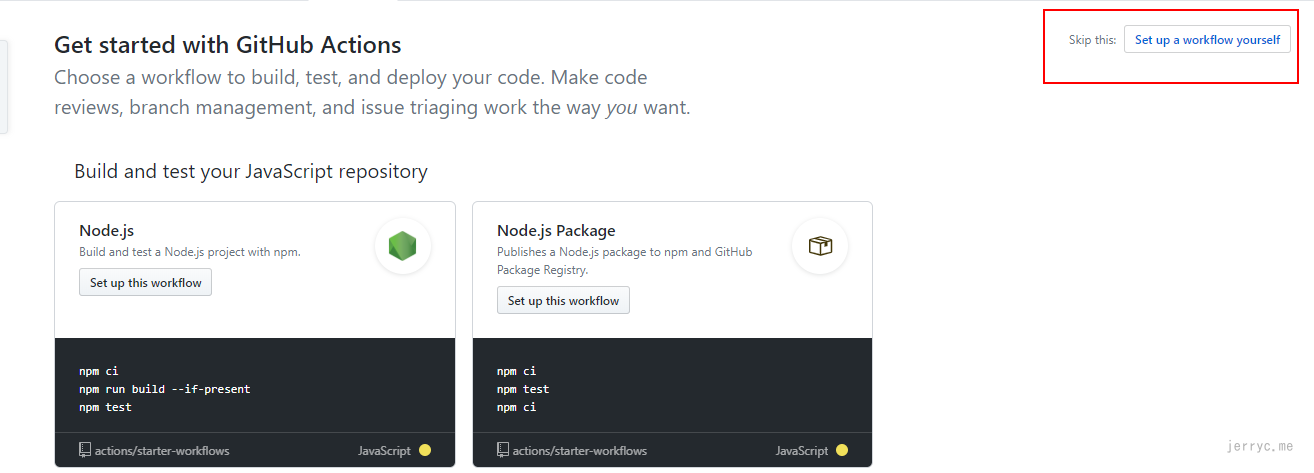
在Hexo目錄的倉庫,點擊Actions Tab,然後點擊Set up a workflow yourself
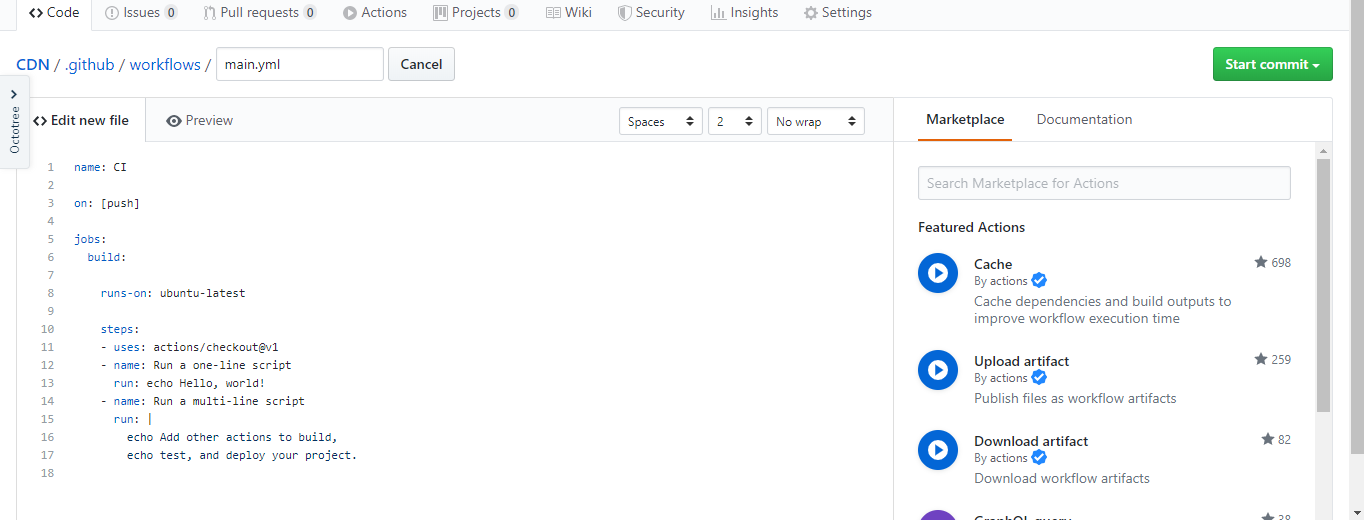
把以下代碼複製到代碼框去
1 | name: 自動部署 Hexo |
on是要被監測的branch,等同Travis-ci的branches其它的都跟Travis-ci的配置差不多,這裏就不再仔細介紹。
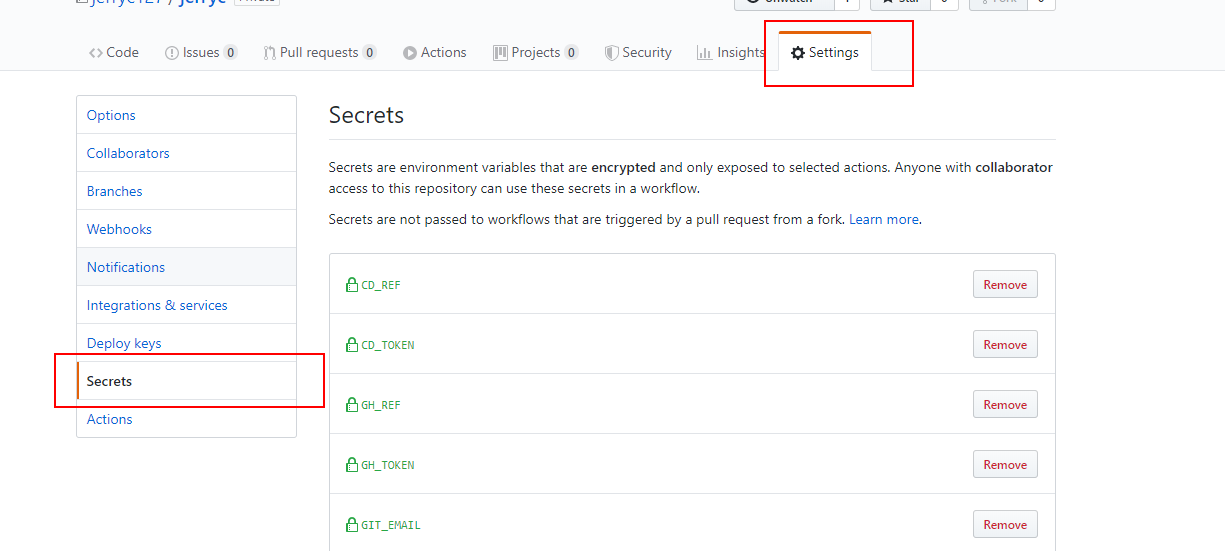
設置隱私資料
為了不讓重要的資料暴露在公眾,需要把這些資料設置到secrets裏,然後通過$引用。
在Settings裏的Secrets裏設置
運行
現在你只要把Hexo的目錄推送到GitHub去,GitHub Actions會自動監測到變化,然後進行編譯。
參考
 Wechat
- Alipay
- Stripe